


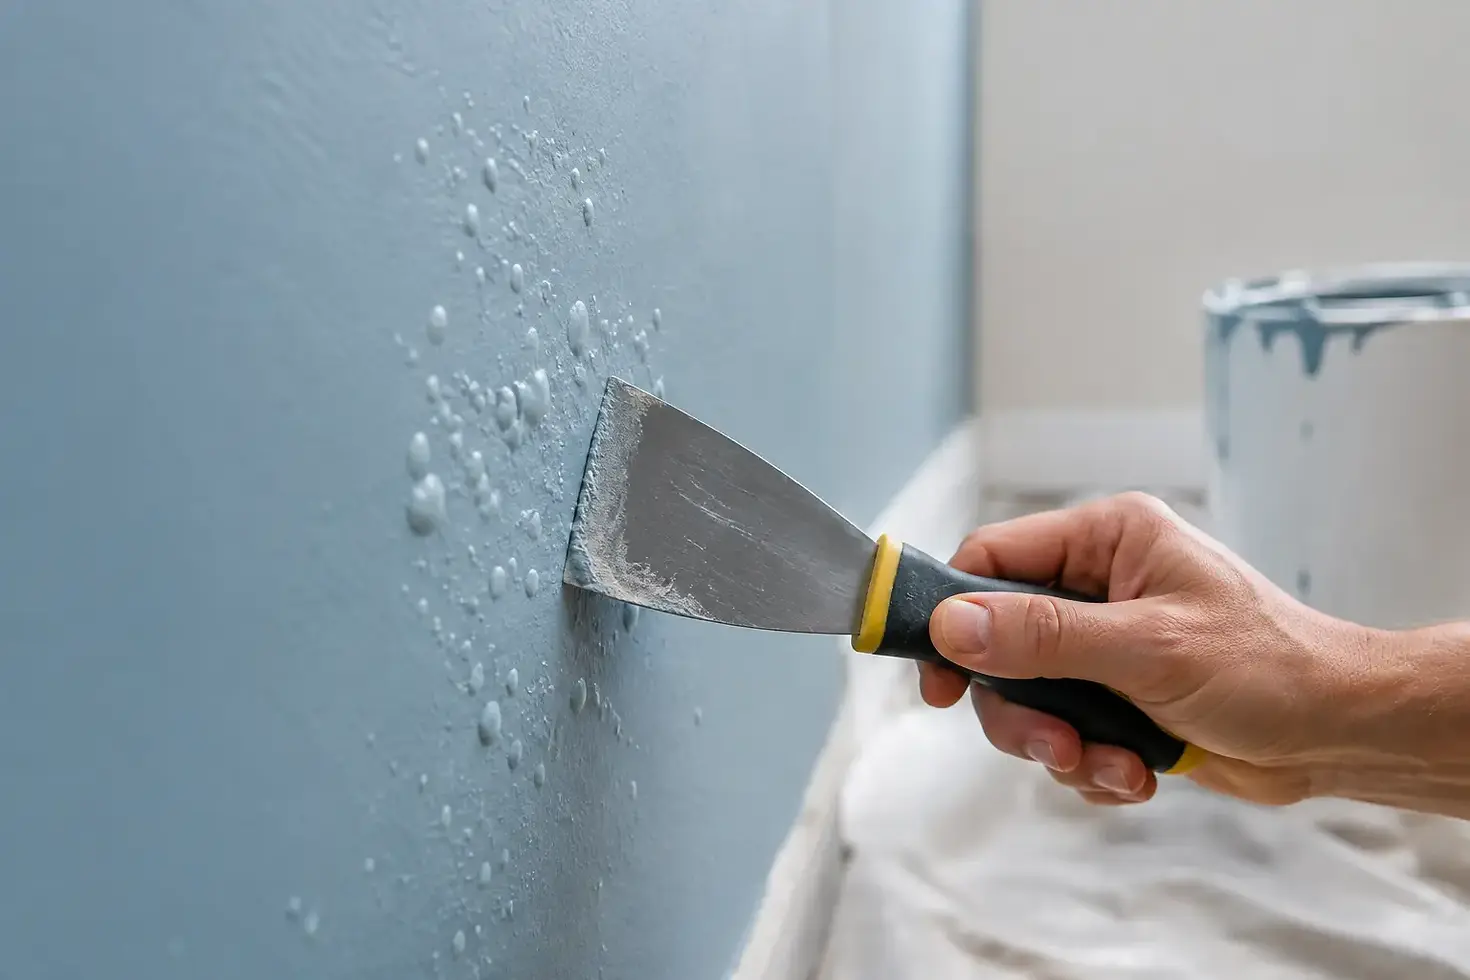
Why Paint Bubbles and How to Fix Them Properly
A freshly painted wall should look quiet and smooth, not like it is trying to lift away from the room. If you are asking why paint bubbles form after a project, the answer is usually not the paint color itself. Bubbling is a warning that moisture, heat, poor adhesion, or an application issue has interrupted the bond between the coating and the surface beneath it.
A few small blisters do not always mean a full repaint is needed. But painting over them without finding the cause nearly always leads to the same disappointment later. The right repair starts with knowing whether the bubble is trapped air, trapped moisture, or paint that never properly adhered.
Why Paint Bubbles Appear on Walls and Trim
Paint bubbles, also called blisters, happen when part of the paint film separates from the surface or from an earlier coat. That separation creates a raised pocket. Some bubbles appear while the paint is still wet; others arrive days, weeks, or even seasons after the room or exterior has been painted.
The timing offers a useful clue. Wet-paint bubbling often points to application conditions or contamination. Bubbles that show up after rain, a humid summer, a shower, or a freeze-thaw cycle are more likely to involve moisture moving through the wall, trim, siding, or substrate.
Moisture behind or beneath the paint
Moisture is the most common and most consequential cause. A slow plumbing leak, roof issue, failed exterior caulk joint, damp basement wall, condensation around windows, or poorly ventilated bathroom can push water vapor behind paint. As that moisture moves, it breaks the paint's grip on the surface.
In Chicago-area homes, seasonal changes can make this especially noticeable. Winter condensation around older windows and summer humidity in bathrooms, sunrooms, or enclosed porches can create conditions that look fine during painting but reveal themselves later.
A bubble caused by moisture may feel soft, appear in clusters, or leave a damp-looking stain when it breaks. If drywall is swollen, plaster is crumbling, wood feels soft, or staining continues to spread, the painting problem is secondary. The source of water must be corrected before any finish work begins.
Heat and direct sunlight
Exterior paint can blister when a hot surface is painted in direct sun or when intense heat hits a newly painted surface. The outside layer can dry too quickly, trapping solvents or moisture below it. Dark colors on sun-exposed siding and metal surfaces demand particular care because they absorb more heat.
This is why a professional schedule accounts for more than the forecast. Surface temperature, sun exposure, humidity, and the product's recommended application range all matter. A pleasant air temperature does not guarantee that a south-facing wall is ready to paint.
Poor surface preparation
Paint needs a clean, sound surface. Dust, cooking residue, hand oils, wax, soap film, old wallpaper adhesive, chalking exterior paint, and silicone-based cleaners can all interfere with adhesion. The new coat may look acceptable at first, then separate once it cures or encounters humidity.
Kitchen cabinets, trim, and built-ins are especially prone to this problem. These surfaces receive constant contact and often have years of polish, grease, and cleaning products on them. A premium finish depends on careful cleaning, sanding, and the correct bonding primer, not simply adding another coat of paint.
Incompatible coatings or weak old paint
Not every existing coating is a reliable base for a new one. Paint applied over glossy oil-based trim without appropriate preparation may peel or blister. A newer coating can also pull away from a weak, failing layer underneath, even when the newest paint was applied correctly.
Compatibility can be more nuanced than latex versus oil. The sheen, condition of the previous finish, primer choice, and any past repairs all affect the result. When the coating history is unclear, a small adhesion test and a properly selected primer can prevent a much larger repair.
Application problems
Painting too heavily, applying a second coat before the first has cured, using the wrong roller cover, or overworking paint as it begins to set can all produce bubbles. Vigorous rolling may introduce air into the paint, particularly on porous or textured surfaces. Most small wet bubbles from roller application will level as the coating relaxes, but persistent bubbles deserve attention.
Thin, even coats are not just a matter of appearance. They allow paint to dry and cure as designed. Rushing to finish a room may save an afternoon, but it can compromise the finish for years.
How to Tell Whether the Problem Is Serious
Start by looking at the location and pattern. A few isolated bubbles along a recently patched area may be a preparation issue. Blisters around a window, below a roofline, near a shower, or across an exterior wall after rain should raise concern about moisture.
Gently press an unbroken bubble. If it feels firm and dry, the issue may be limited to adhesion or trapped air. If it feels spongy, wet, or fragile, stop and investigate further. Do not puncture a large area simply to make it look better. You may expose wet drywall, damaged wood, or staining that needs to dry and be sealed correctly.
For homes built before 1978, avoid dry scraping or aggressive sanding without considering the possibility of lead-based paint. A qualified professional can recommend safe testing and containment practices before disturbing older finishes.
How to Repair Paint Bubbles the Right Way
Repairing bubbles is straightforward only after the underlying condition is stable. If active moisture is present, fix the leak, ventilation problem, or exterior entry point first. Then allow the affected materials to dry fully. Depending on the location and extent of damage, that may take longer than expected.
Once the surface is dry and sound, remove loose or blistered paint with appropriate scraping methods. Sand the edges until the repair feathers smoothly into the surrounding finish. If drywall paper has torn, wood fibers have lifted, or plaster has become uneven, those areas may need patching, skimming, or stabilizing before primer goes on.
Primer is often the step that determines whether the repair disappears or returns. Bare drywall, repaired plaster, exposed wood, stained areas, and glossy trim may each require a different product. A stain-blocking primer can keep water marks or tannins from bleeding through, while a bonding primer helps paint grip difficult surfaces.
After priming, apply paint in thin, even coats and respect the manufacturer's dry and recoat times. In a bathroom or high-humidity area, make sure exhaust ventilation is working before putting the room back into normal use. For exterior work, choose a dry weather window with reasonable temperatures and avoid painting surfaces baking in full sun.
Preventing Bubbles in Future Painting Projects
The best prevention is patient preparation. Before painting, surfaces should be cleaned, dry, dull enough for adhesion, and free of loose material. Any recurring moisture source should be addressed as part of the project, not treated as an inconvenience to paint over.
A few practical habits make a meaningful difference:
Use the primer designed for the existing surface and the new finish.
Let patches, primer, and paint dry fully between steps.
Keep bathrooms and laundry rooms ventilated during and after painting.
Check exterior caulk, flashing, gutters, and siding for places water can enter.
Paint within the product's temperature and humidity guidelines.
There is a trade-off here: faster products and quick recoats can be useful in the right conditions, but they do not replace surface preparation or cure time. For detailed interiors, cabinetry, historic trim, and exterior woodwork, careful sequencing is what protects a refined finish.
When It Is Time to Call a Professional
A professional assessment is worthwhile when bubbling covers a broad area, returns after repair, appears near water damage, or affects cabinets, detailed trim, plaster, or exterior siding. These situations can require more than paint removal. They may involve moisture diagnosis, substrate repair, targeted primers, and exact sheen matching so the correction blends into the rest of the home.
At Artist Painters, we absolutely love painting houses, but we also know that a beautiful coating begins before the first finish coat is opened. If bubbles are interrupting the look of a room or exterior you care about, treat them as useful evidence. Correcting the cause now gives your home the durable, carefully finished result it deserves.


